Code on my Github: SoonTM
Inspiration
This project started out as a way to learn a new skill that may lead to building something extra-cool down the road. I saw this post on hackaday.io and knew I had to try at least a “version” of it.
https://hackaday.io/project/193086-musical-jack-o-lanterns
At first I considered trying to make the full Halloween lights/music display. But seeing as it was already getting halfway through October, I figured I should learn the basics first. Maybe I’ll attempt a big yard display on a different holiday/year? The coordination of lights and sound will always be mesmerizing, but I didn’t want to spend a lot of time learning the programs they used for sequencing/timing at this stage.
Xlights – Open source light sequencing
FalconPlayer – Show scheduler and manager
Since I didn’t want to play a song/light sequence on a schedule (every half-hour, hour, etc.) I needed another way to trigger the sequence that didn’t involve me staring out the window for trick-or-treaters and hitting a button. An unexpected sound on Halloween would be very seasonal, so why not motion-activated?
I was reminded of those “jumpscare” animatronics you see at Spirit Halloween and briefly considered going that route, but my fiance firmly stated there are no animatronics allowed in the house. Which is… fair.
I decided to go very simple with the first iteration of this idea and make something more like a doorway greeting that I could customize with different sounds. This turned into repeat triggerings whenever anyone would walk past. We learned that a “cooldown” delay is important!
As further testing and refinement went on, the entryway greeting became an entry themesong. What would be the most quintessential themesong for a new character entering the room?

Thus, the Entryway Seinfeld Themesonger was born.
The Build
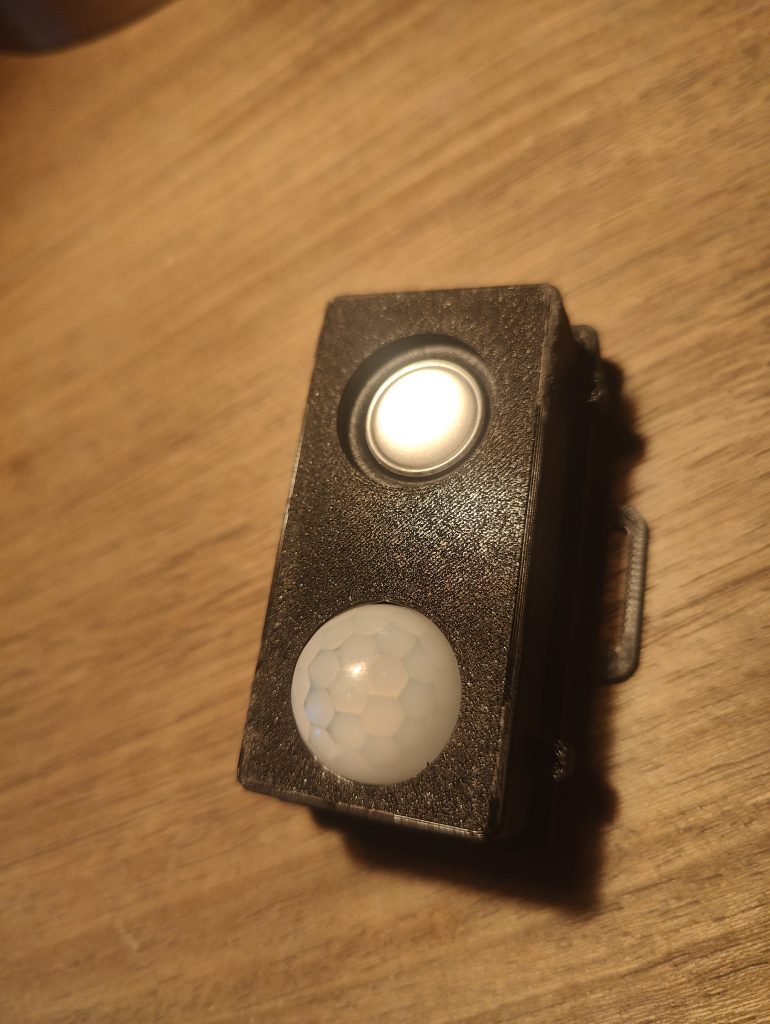
I found a 3Dprintable case I thought would suit the project really well with a couple small adjustments:
https://www.printables.com/model/520378-case-for-esp32_cam-trail-camera-pir-sensor-18650-b
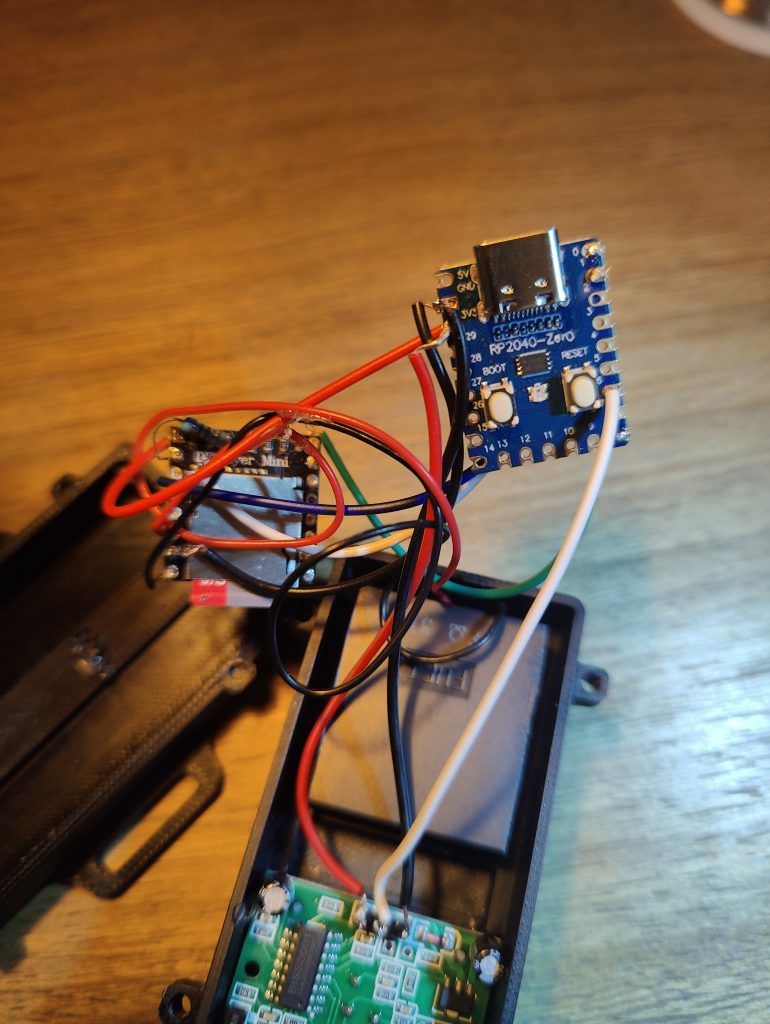
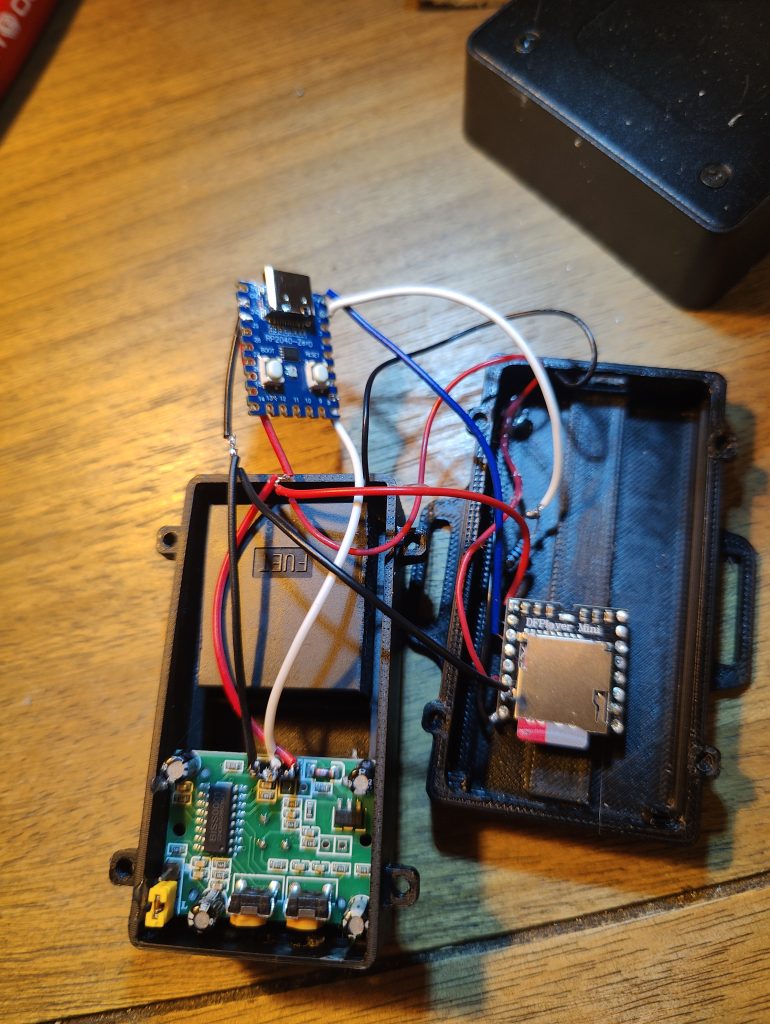
While this almost did the trick, as I was putting the project together I found that this maker used some smaller components. These included an ESP32 microcontroller which has a relatively smaller footprint than the raspberrypi pico. I had recently purchased a couple RP2040-zeros so this was a great opportunity to try one out. It shares the same chip as the pico but with a size that will fit better into the project.
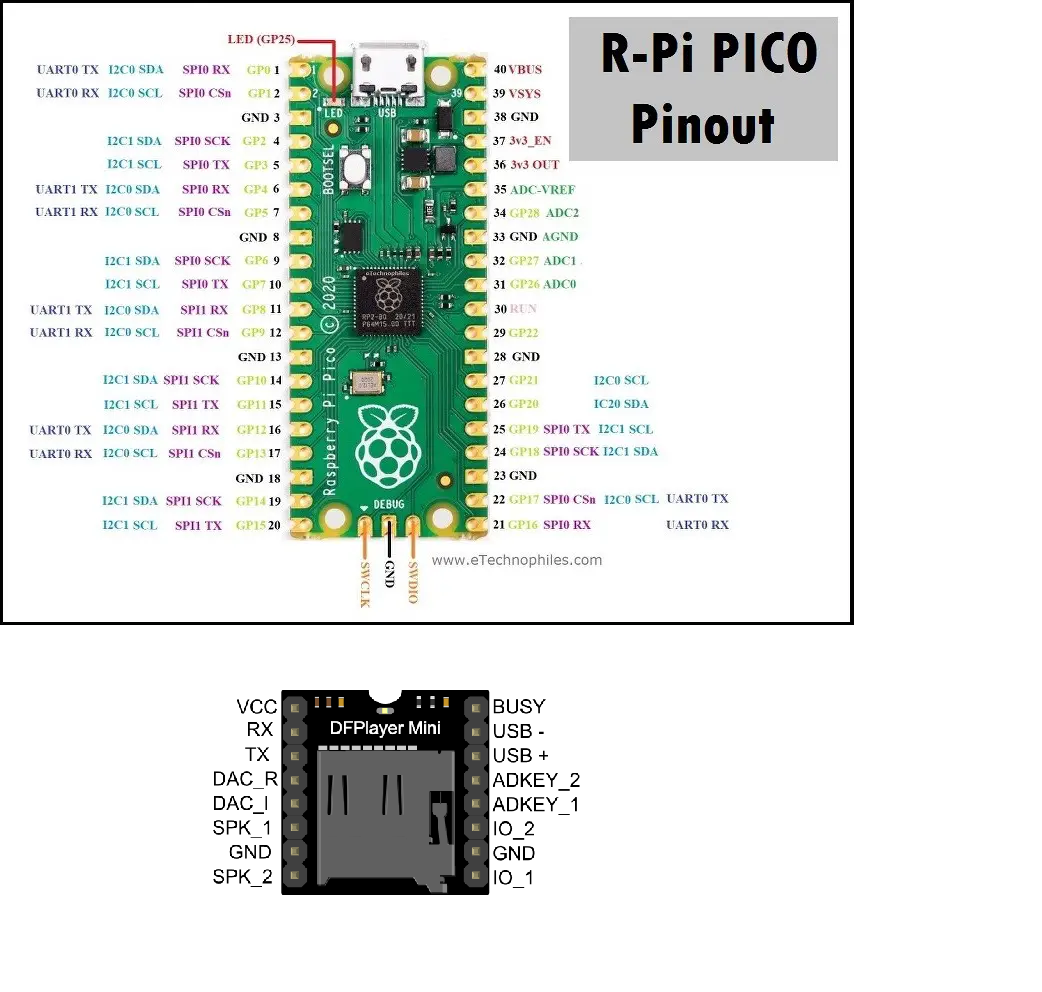
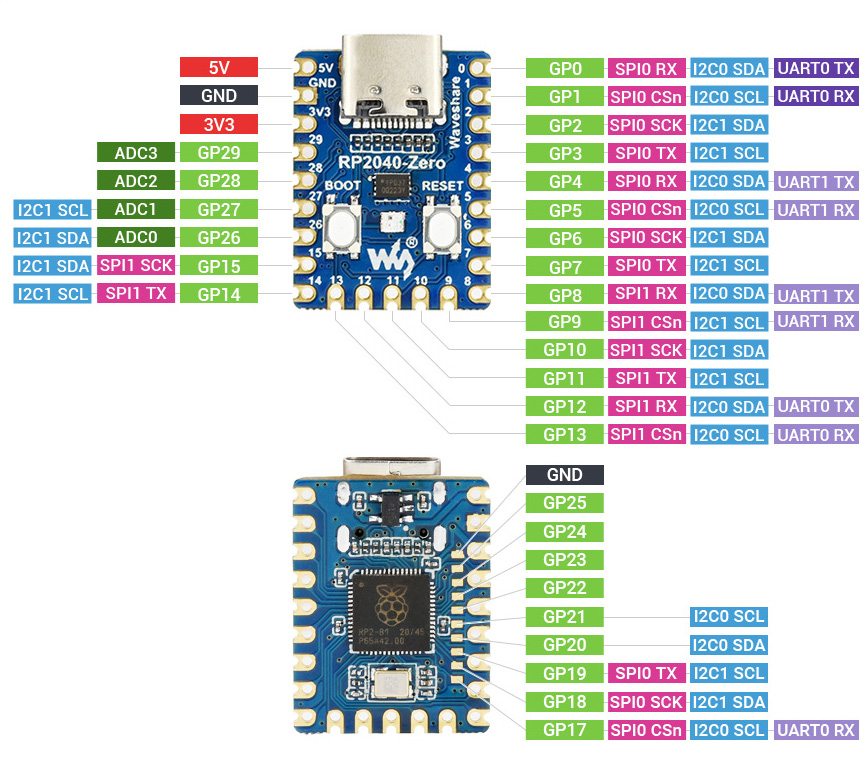
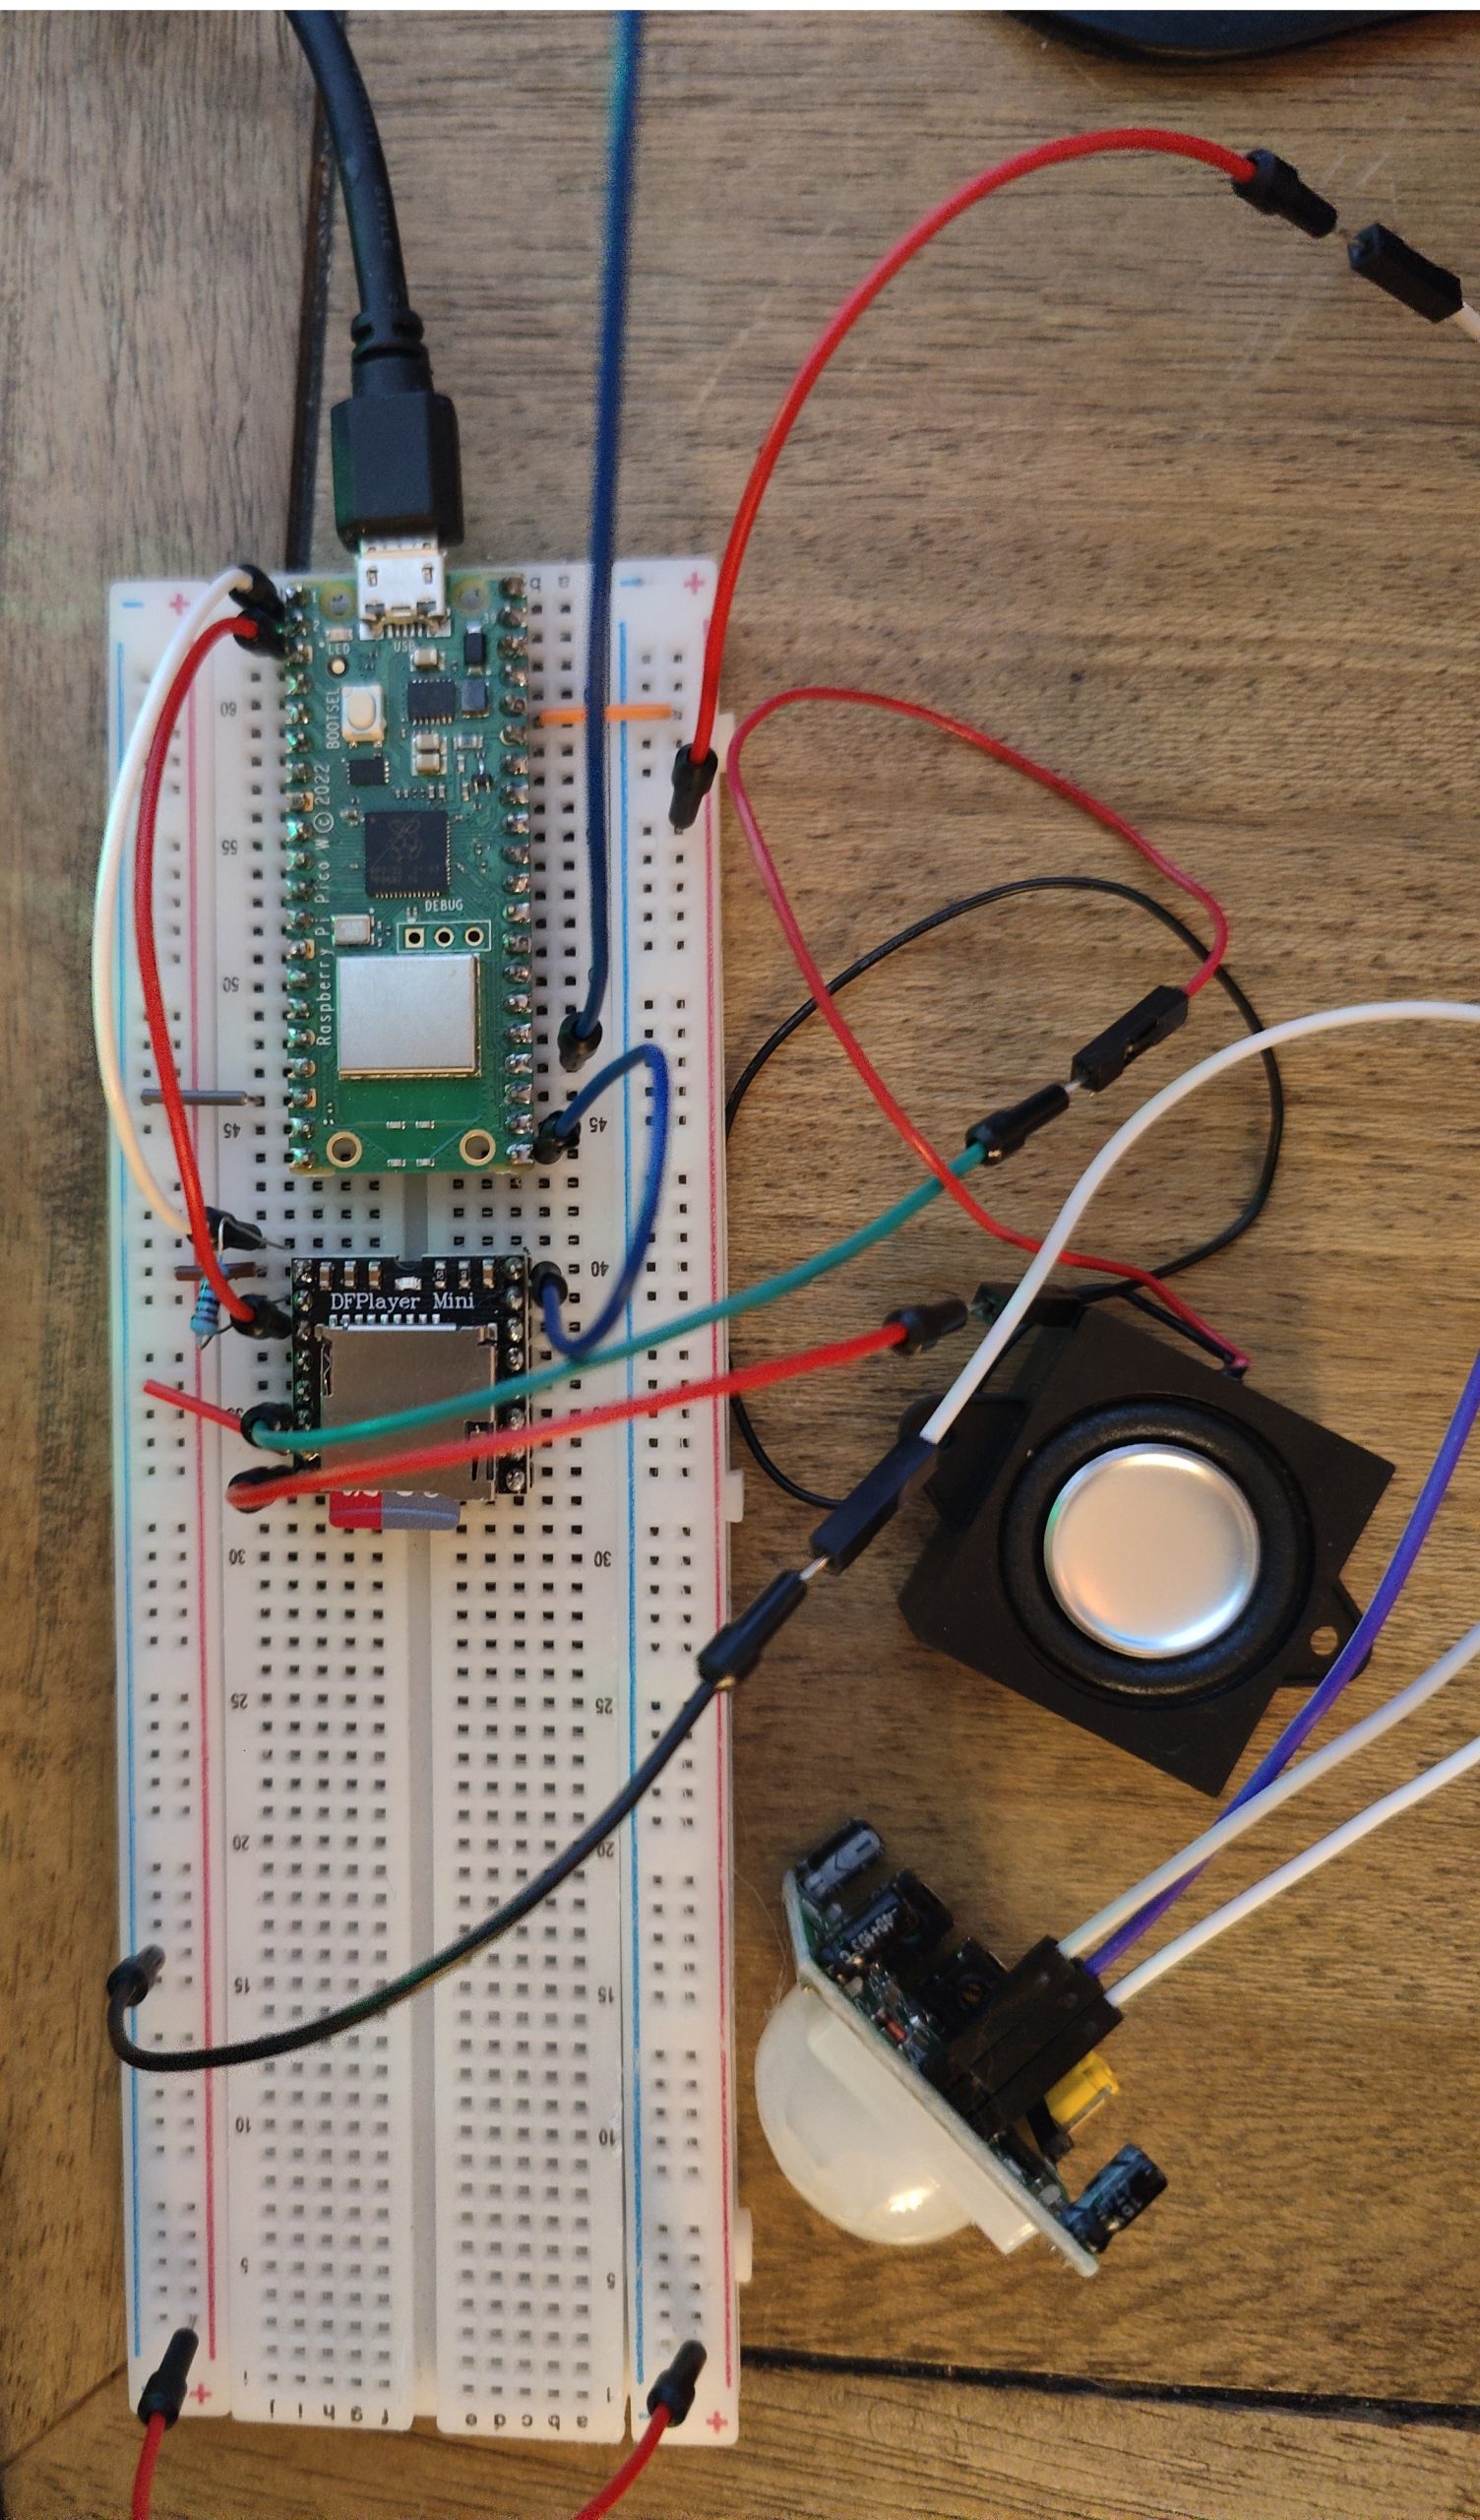
During assembly, I ran into another issue that has halted my progress. While trying to de-solder and remove the header pins from the DFPlayer Mini to fit inside the case, I accidentally damaged the board and ruined it. I will have to revisit the project to fully complete it once I get another DFPlayer in but until then I’ve got good progress done!

No responses yet